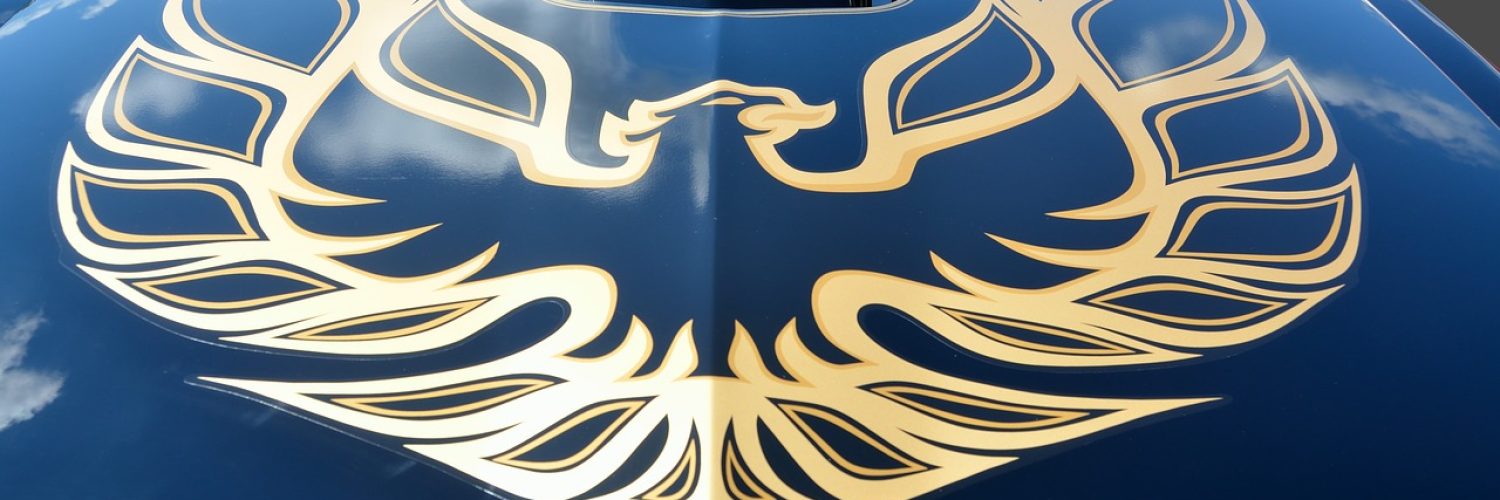
Car decals are a great way to proudly display your personality and interests, such as showing support for your college or favorite sports team. Eventually, some of your car decals might not be relevant to you anymore, and you might want to remove them or replace them with something more appropriate. Correctly applying and removing these decals requires patience and skill, and you’ll also need to take care of them to ensure they continue to look as great as the day you stuck them on your car. This handy guide will teach you how to apply and remove your car graphics.
Application
 Start with a clean surface. Regardless of where you want to stick the decal, you’ll have to make sure it’s on a clean surface. Any residual dirt or grime will weaken the adhesive backing on the sticker. You can clean your car by pressure washing it or wiping it down the areas with water, rubbing alcohol, and soap.
Measure the decal. You don’t want to begin sticking it onto your vehicle only to find out you don’t have enough space for it. Hold the decal up to your car to get a good idea of its size in contrast or use a ruler or measuring tape to gauge its proportions.
Pick out a good location for the decal. The place you’ll stick it on depends on the size of the sticker and the car. Once you’ve measured both out, you’ll already have a good idea of where it should go. The most common areas to put them include the corners of windshields or near the muffler.
Stick the decal on your desired location. Make sure your car is under direct sunlight so you can see what you’re doing, and ensure that your vehicle is also thoroughly washed and dried. When peeling off the backing, do it slowly and in small portions, smoothing out any air bubbles with a credit card or folder as you go along.
Removal
Clean the decal and the surrounding area. Unlike during the application process, you won’t need to clean the entire car when removing the decal. You need to clean the decal itself and the surrounding area with soap, water, rubbing alcohol, and a soft cloth.
Heat the decal. Apply heat on the decal with a towel soaked in hot water or a powerful hairdryer. That will loosen the adhesive grip on the back of the sticker, making it much easier to pull off.
Lift the corners of the sticker. Begin lifting the edges of the decal and scrape under it with a credit card or a folder. Do this slowly until you’ve got a sizable portion of the sticker, which you can peel away.
Remove sticker residue. Some stickers may leave a sticky residue that can attract dirt and grime and leave your car looking perpetually dirty. You can get rid of this residue using various methods such as scraping it or applying rubbing alcohol or oil.
Clean the area once again. After you’ve successfully gotten rid of the residue, give the area another cleansing with soap, water, rubbing alcohol, and a soft cloth.
If you want to personalize your car on a budget or display your interests proudly, car decals are the way to do it. This handy guide ensures that you’ll have no trouble applying a decal or removing it from your car.

